How to use the Glif Wallet
Using the Glif Wallet
Not your keys, not your coins! A big thank you to the Sia Ledger tutorial, they wrote great material on this process that we reuse in this guide.
What is the Ledger Device?
The Ledger device is a hardware wallet created by Ledger. A hardware wallet stores the private keys to cryptocurrency on a separate device, making it much harder for malicious parties to steal them. In fact, the private keys never leave the Ledger device itself, so they will remain secure even if the device is connected to a compromised computer. As long as you follow best practices when using your Ledger device, it is virtually impossible for an attacker to steal your funds.
Prerequisites
- Your Ledger Nano S (running Firmware ^1.6.1) or Nano X device (running Firmware ^1.2 4-4)
- Ledger Live desktop application
Set up your Ledger
- Initialize your Ledger (Nano S / Nano X). This gets the hardware wallet set up and ready to use.
- Download Ledger Live onto your computer. Ledger Live is the app you use to manage your Ledger device.
- Install the latest firmware on your Ledger (Nano S / Nano X). This ensures compatibility with the Filecoin app.
At this point, you're ready to install apps on your Ledger device. Remember to store your 24-word recovery phrase in a safe place, because you'll need it to recover your funds if your device is lost or damaged.
Install the Filecoin App
If you do not have the Filecoin app installed on your Ledger Device, visit this link.
Login to the Glif Wallet with your Ledger Device
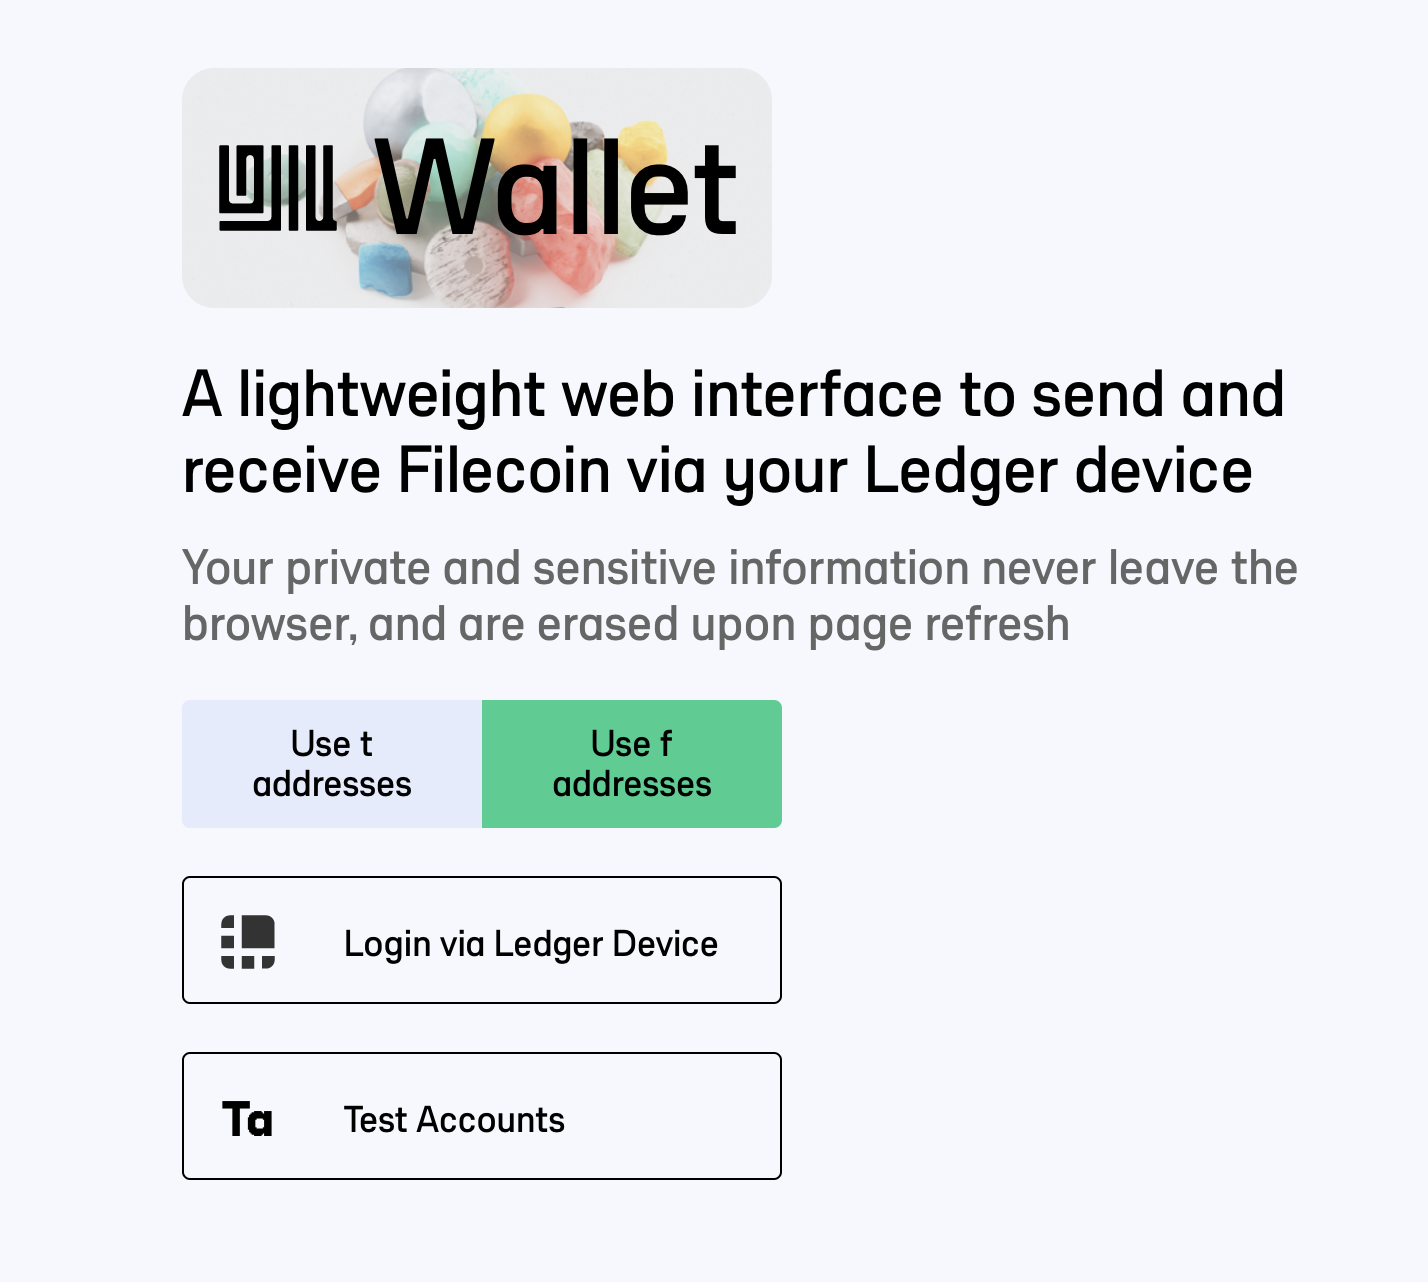
Open Google Chrome, visit https://wallet.glif.io and click “Login via Ledger Device” on the left side of the screen.

Plugin your Ledger Device via USB to your computer and continue.

Make sure your Ledger device is unlocked and your Filecoin app is open.

View Account Balance
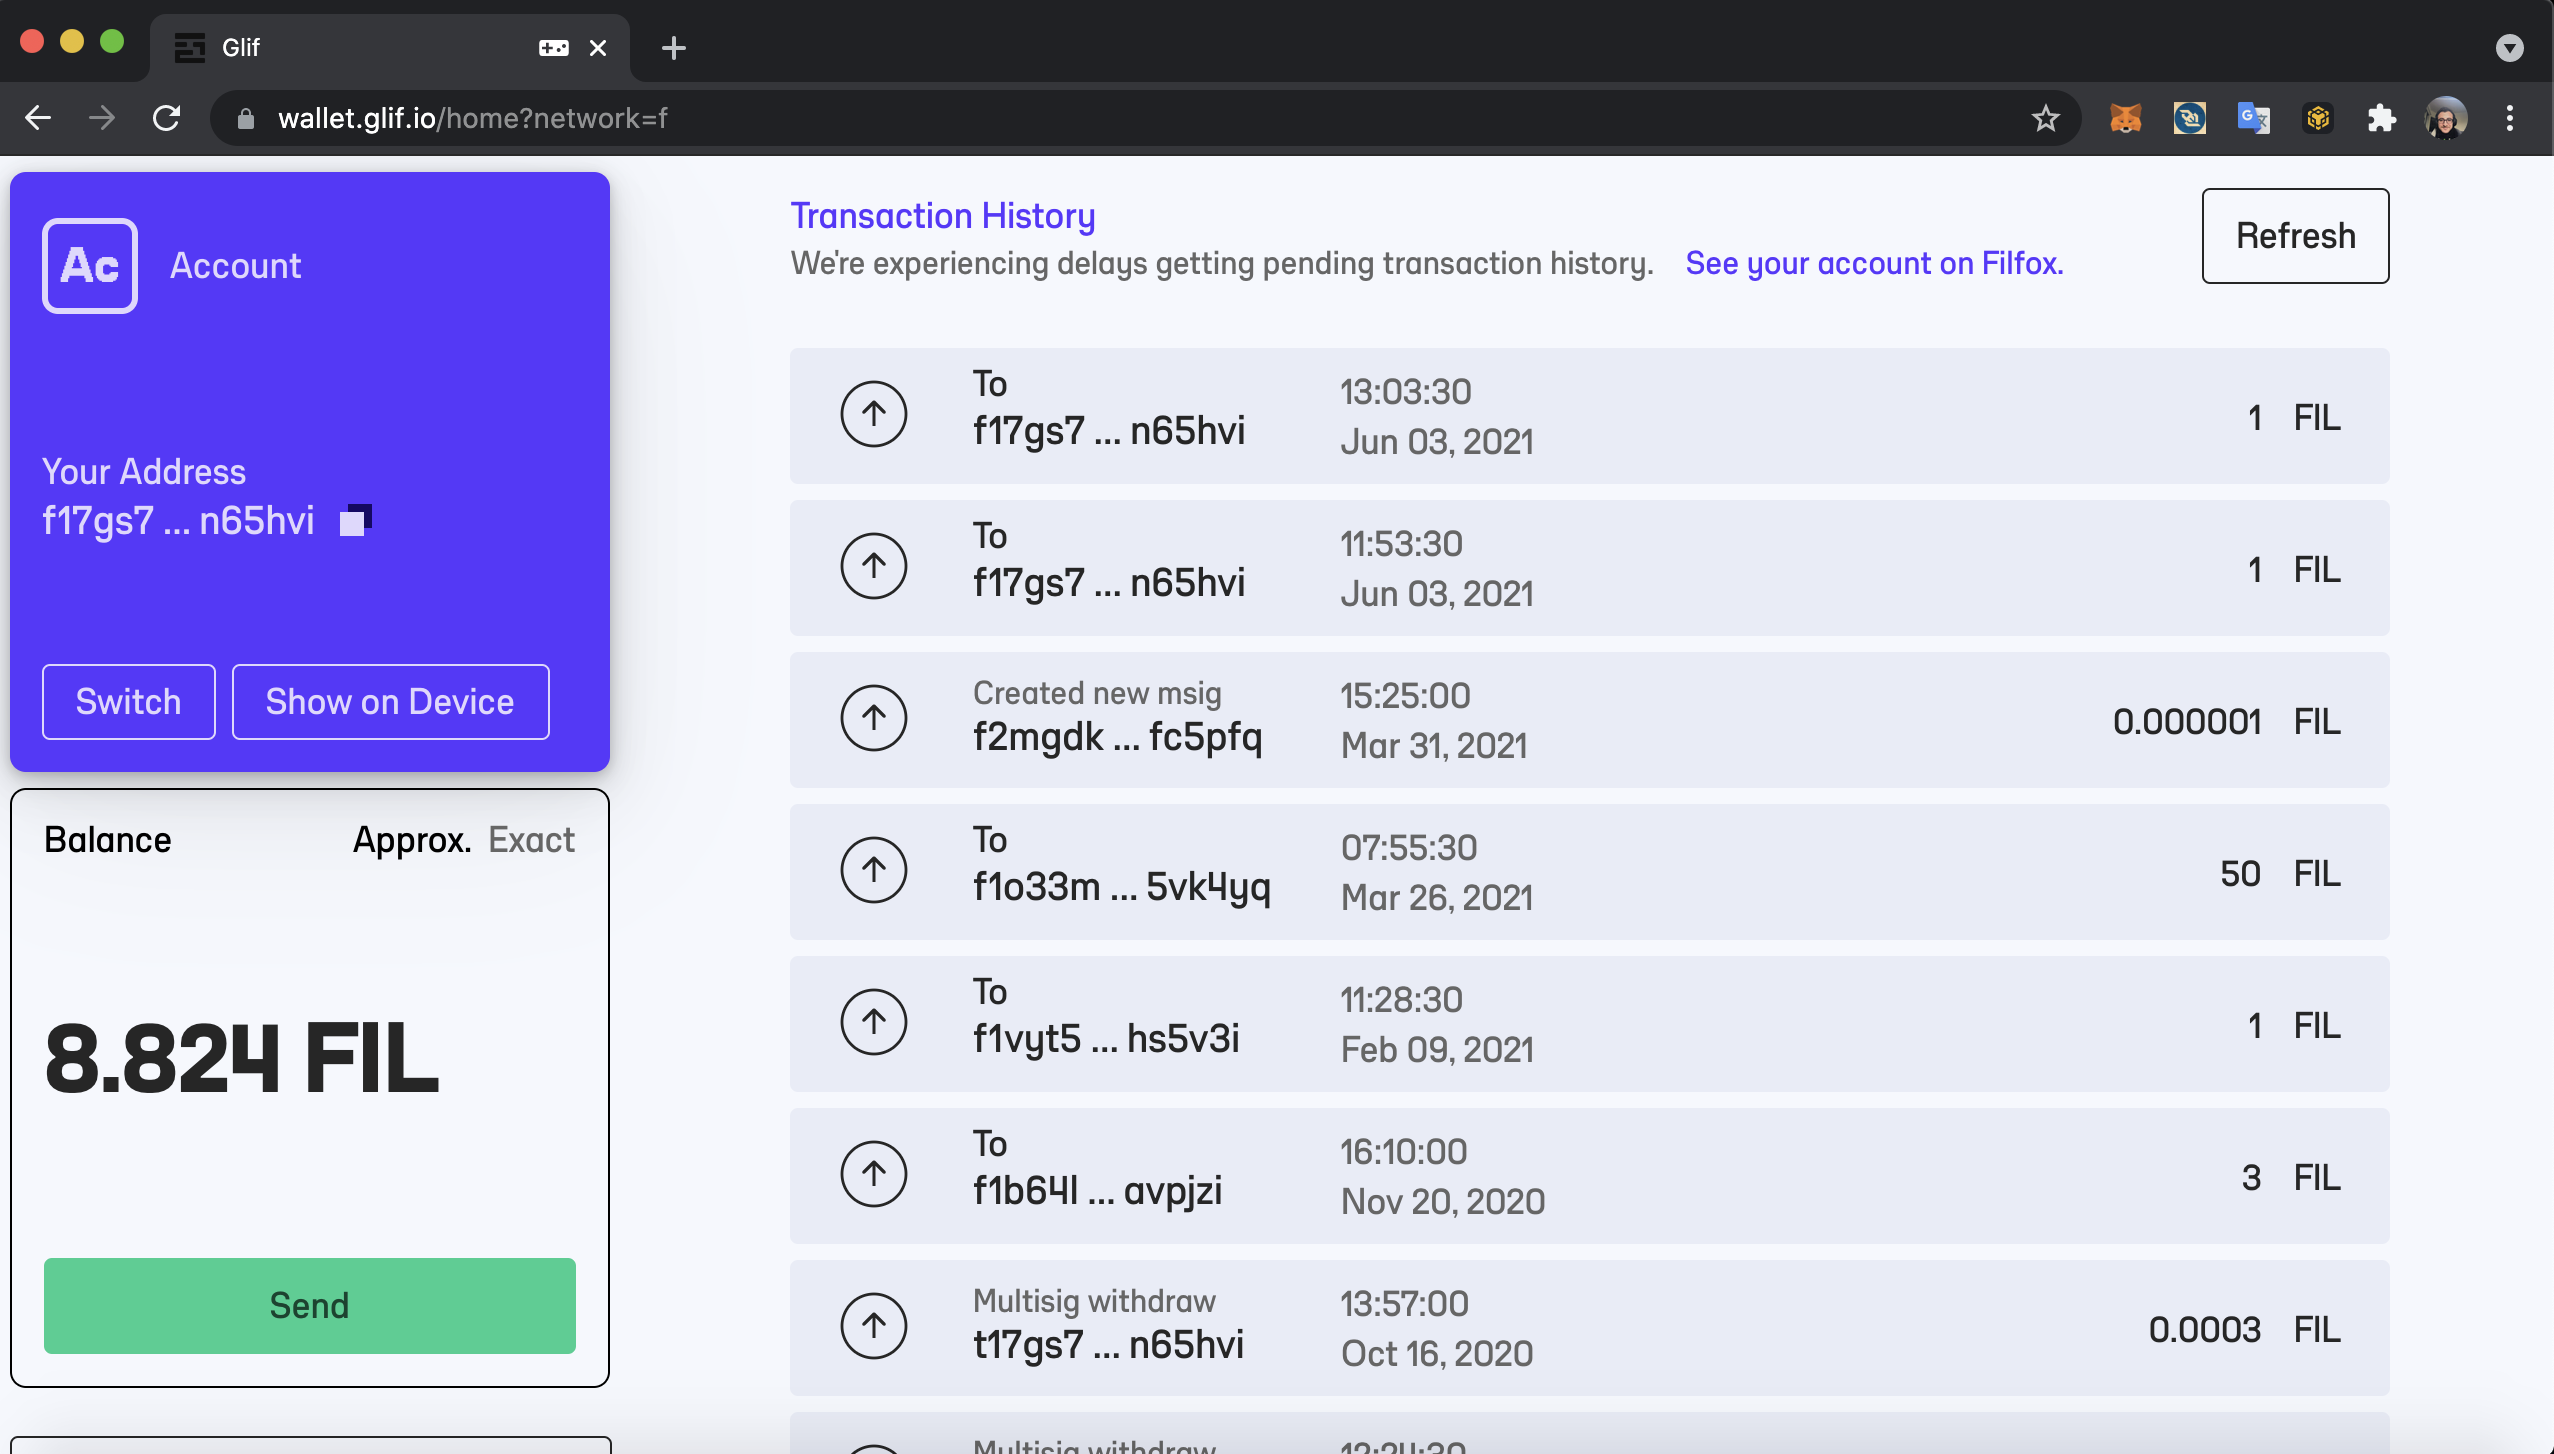
When you enter the Glif Wallet, you will see a Balance card on the bottom left side of the screen, this displays the amount of Filecoin tokens in your selected wallet.

To see balances of your other accounts, you can click the “Switch” button in the Account card (located above the balance card).
Receive Filecoin
To receive Filecoin, you need to give the sender your full Filecoin address. To get your full Filecoin address, click the copy button next to your truncated Filecoin address in the Account card. A Filecoin address should start with the letter f followed by a 1, 2, or 3. When someone sends Filecoin to your address, you will have successfully received Filecoin.
Send Filecoin
Click the green “Send” button at the bottom of the balance card on the bottom left part of the screen.
Enter the recipient's address
Enter the amount of Filecoin you'd like to send the recipient
Enter any optional base64 encoded params (this step is not necessary for a simple Filecoin transfer)
Accept or change the transaction fee
Review the total transaction details
Review the message on your Ledger device. Make sure the
toaddress matches the recipient address, and the value matches the amount of Filecoin you'd like to send the recipientSign the message on your Ledger device
Wait for the message to confirm on chain
All set!
Get Support
Please email us at squad@infinitescroll.org or post an issue on our GitHub if you face any issues.
To reply you need to sign in.